
Tools
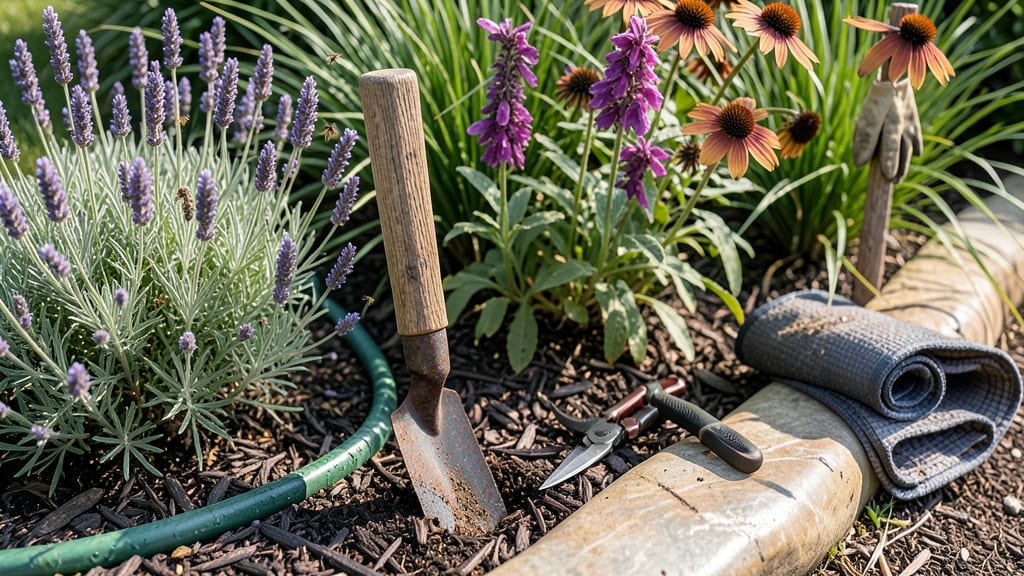
My garden bed maintenance stays shockingly productive all season because I treat them like living ecosystems—not just dirt where plants happen. 🌱 The secret isn’t complicated: it’s about 5 simple steps that keep soil healthy, weeds at bay, and plants thriving without overwhelming work.
Most people skip the basics, and that’s why their gardens fizzle by July.
Start with weekly weeding (yes, even just 10 minutes helps) and mulching—this single habit cuts watering by half while smothering weeds. Then add monthly soil checks: test moisture, top-dress with compost, and adjust fertilizer based on what’s growing.
I’ve seen beds go from scraggly to lush just by doing these 5 things consistently—no fancy tools or secret formulas.
By summer’s end, you’ll have vibrant green plants that produce like crazy, not just survive. The best part? These steps work for raised beds, in-ground plots, and even containers.
No more guessing what your plants need—just a routine that keeps everything foolproof and low-stress. Let’s make this the year your garden actually delivers.
Fair warning: the first year takes a little more effort, but after that, your beds will run themselves with minimal upkeep. I’ll show you exactly how to set up the system so it becomes second nature—no green thumb required.
📚 In This Guide
- What you need
- Instructions
- Tips and common mistakes
- Wrapping up and next steps
What you need
- ● Garden gloves: A pair of durable, breathable gloves (e.g., leather or nitrile-coated) to protect your hands from thorns, dirt, and sharp tools.
- ● Hand trowel: A sturdy, 6-8 inch trowel for weeding, planting, and soil amendments.
- ● Pruners: Bypass pruners (for clean cuts) or anvil pruners (for thicker stems) to trim plants and deadhead flowers.
- ● Garden fork: A 4-6 tine fork for aerating soil and turning compost.
- ● Hose with adjustable nozzle: A lightweight, kink-resistant hose (50+ ft) with a spray or shower setting for watering.
- ○ Watering can (optional for small beds): A 1-2 gallon can with a rose attachment for gentle watering.
- ● Mulch: 2-3 inches of organic mulch (e.g., shredded bark, straw, or compost) to retain moisture and suppress weeds.
- ● Compost or fertilizer: A balanced organic fertilizer (e.g., 10-10-10) or compost tea to nourish plants mid-season.
- ○ Weed barrier cloth (optional): A 3-4 foot wide roll to lay under mulch for long-term weed control.
- ● Kneeling pad: A cushioned pad for comfort during long gardening sessions.
- ● Soil pH test kit: To monitor and adjust soil acidity as needed.
- ● Plant support stakes or cages: For taller plants like tomatoes or peppers.
- ● Rain gauge: To track watering accuracy and prevent over/under-watering.
- ● Solar-powered garden light: For evening inspections or ambiance.
Instructions for season-long garden bed health
Here's the straightforward system I use to keep garden beds thriving all season—no guesswork, just consistent care.
✂️ Step 1: Remove Weeds and Debris Weekly
Pull weeds when they're young and the soil is moist—this prevents them from competing with your plants for nutrients. I like to do this on damp mornings when weeds are easier to extract without breaking. Use a hand fork to loosen stubborn roots without disturbing nearby plants.
Remove all plant debris, especially diseased leaves, to prevent fungal spores from spreading. A sharp pair of pruners makes quick work of cutting back dead foliage. This step keeps your bed looking tidy and reduces pest habitats.
💧 Step 2: Water Deeply at the Right Times
Water early in the morning to reduce evaporation and fungal risks. Aim for 1-1.5 inches of water per week, delivered either through rainfall or irrigation. Let the top 2-3 inches of soil dry out between waterings to encourage deep root growth.
Use a soaker hose or drip irrigation to deliver water directly to the root zone. Avoid overhead watering, which can spread diseases and waste water through evaporation. Mulch after watering to lock in moisture and prevent soil crusting.
☀️ Step 3: Refresh Mulch Every 4-6 Weeks
Add a 2-3 inch layer of organic mulch like shredded bark or straw to conserve moisture, regulate soil temperature, and suppress weeds. I spread it evenly, keeping it 2 inches away from plant stems to prevent rot.
Replenish mulch as it breaks down—you'll know it's time when you see bare soil patches or when the mulch looks thin. This step is especially important in summer when evaporation rates spike.
🌿 Step 4: Fertilize Strategically Based on Plant Needs
Apply a balanced organic fertilizer (like 10-10-10) at planting time, then switch to a low-nitrogen formula (like 5-10-10) for flowering plants. I use slow-release granules that feed plants steadily without burning roots.
Top-dress with compost every 6-8 weeks to replenish organic matter. Look for signs of deficiency—yellowing leaves mean more nitrogen, while weak stems signal phosphorus needs. Adjust your approach based on what you see.
⏰ Step 5: Monitor and Adjust Seasonally
Check soil moisture weekly and adjust watering as temperatures shift. In summer, you may need to water every 2-3 days, while fall might require once-weekly watering. Use a moisture meter for precision.
Rotate crops annually to prevent soil depletion and disease buildup. Note which plants thrive in each spot—this helps you optimize bed layouts for next season. A quick end-of-season cleanup prevents overwintering pests from becoming next year's problems.
Tips & tricks for perfect garden bed maintenance
Here's what nobody tells you about keeping your garden beds thriving without the guesswork—these are the details that separate good soil from great soil.
Timing Secret: In Step 1, when you're removing weeds, focus on the first 2-3 inches of soil where most weed seeds germinate. I've found that using a hula hoe on damp mornings after rain makes this task 3x faster—weeds slide right out of the moist soil without resistance. This weekly habit prevents weeds from establishing deep roots that are nearly impossible to remove later.
Watering Wisdom: The 1-1.5 inch weekly watering guideline in Step 2 works perfectly when using a rain gauge, but most homeowners don't have one. Instead, I use the screwdriver test: Push a screwdriver into the soil after watering. If it goes in easily up to the handle, you've hit that 2-3 inch moisture mark. For container gardens, check weight—when pots feel light, it's time to water again.
Mulch Mastery: When refreshing mulch every 4-6 weeks (Step 3), I recommend using two types layered together: Start with a 1-inch layer of compost directly on the soil, then add your 2-inch mulch layer. This two-step approach feeds the soil while protecting it. Also, keep mulch 2 inches from stems to prevent rot—this is where most gardeners make the mistake of piling too close.
Fertilizer Strategy: The 6-8 week compost top-dressing in Step 4 works wonders, but I've learned to time it perfectly with the new moon. Plant roots absorb nutrients more efficiently during this lunar phase. For flowering plants, switch to that 5-10-10 formula when you see buds forming—not before—and apply it in the morning when dew is present for maximum uptake.
Pro Tips for Garden Bed Maintenance
- Here's what nobody tells you about keeping your garden beds thriving without the guesswork—these are the details that...
- Timing Secret: In Step 1, when you're removing weeds, focus on the first 2-3 inches of soil where most weed seeds ger...
- Watering Wisdom: The 1-1.5 inch weekly watering guideline in Step 2 works perfectly when using a rain gauge, but most...
Frequently asked questions
Got questions about keeping your garden beds thriving year-round? You’re not alone!
Here are answers to the most common concerns—from timing to troubleshooting—so you can maintain healthy soil and happy plants with confidence.
How often should I mulch my garden bed?
Mulch every 2–3 months or when it breaks down to 1–2 inches thick. In hot climates, check monthly—mulch decomposes faster and needs replenishing. Pro tip: Use 3–4 inches of mulch in the first application to suppress weeds and retain moisture long-term.
Can I use grass clippings as mulch?
Yes! Grass clippings make great mulch if applied thinly (½ inch or less) to avoid matting. Let them dry slightly first to prevent fungal growth. For heavy use, mix with straw or wood chips to balance nitrogen needs. Warning: Avoid thick layers—they can smother plants or attract pests.
What’s the best time to aerate compacted soil?
Aerate early spring or fall when soil is moist but not soggy. Avoid aerating after heavy rain or in freezing temps. For small beds, use a manual fork; larger areas benefit from a core aerator. Bonus: After aerating, top-dress with compost to improve soil structure.
How do I fix weeds without harsh chemicals?
Try these natural methods:
- Hand-pulling: Do this after rain when soil is soft.
- Boiling water: Pour directly on weeds (avoid desirable plants!).
- Vinegar spray: Mix 1 gallon vinegar + 1 cup salt + 1 tbsp dish soap; reapply weekly.
- Mulch barrier: Smother weeds with cardboard + mulch for long-term control.
My garden bed looks bare—what’s the fastest way to revive it?
Start with a soil boost:
- Remove dead plants/debris.
- Add 2–3 inches of compost and mix into the top 6 inches.
- Water deeply to settle soil.
- Plant fast-growing cover crops (like clover or buckwheat) or direct-sow green manure.
Do I need to fertilize if I’m adding compost?
Compost provides slow-release nutrients, but for heavy feeders (tomatoes, peppers), supplement with a balanced fertilizer (10-10-10) every 6–8 weeks. Test your soil first! A simple kit ensures you’re not over- or under-feeding.
Wrapping up and next steps
Keeping your garden bed thriving doesn’t have to be overwhelming—just consistent and intentional. By focusing on soil health, seasonal prep, mulching, weeding, and pest control, you’ll create a lush, productive space with minimal effort.
Remember, every small step—whether it’s a quick mulch refresh or a deep soil check—adds up to big rewards.
Ready to take the next step? Start small: pick one task from this guide and schedule it into your routine. Before you know it, your garden bed will be the envy of the neighborhood—and you’ll be the proud gardener behind it! 🌱✨