
Tools
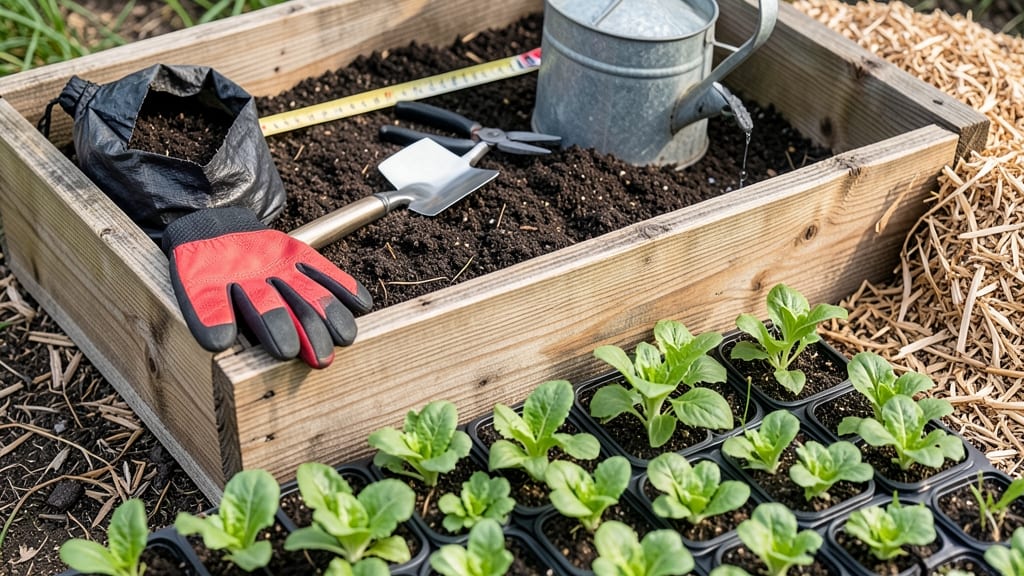
Discover the steps to successfully do raised bed gardening—it transforms your yard into a lush, productive paradise with less effort than traditional in-ground plots. 🌱 I’ve filled my own beds with thriving tomatoes, herbs, and flowers—all while keeping weeds and pests at bay. The secret? Layering the right soil mix and spacing plants just right for maximum growth and minimal maintenance.
Start with untreated lumber or sturdy containers, then fill with a custom soil blend of topsoil, compost, and coarse materials like straw or bark. This layered approach ensures perfect drainage while feeding roots for months.
My first bed cost under $50 to build and yields enough produce to feed my family through summer.
You’ll harvest earlier and more abundantly than ever before—tomatoes in July instead of August, crisp lettuce in May, and herbs ready to snip whenever you need them. The raised edges keep soil contained, reduce bending, and make weeding a breeze. Even my black thumb can’t kill these beds.
From choosing the right location to troubleshooting common issues like soil depletion, this method scales to any space—whether you’re working with a 4x8-foot plot or a small balcony container. Let’s get those plants growing right.
📚 In This Guide
- What you need
- Instructions
- Tips and common mistakes
- Wrapping up and next steps
What you need
- ● Raised Bed Frame: Untreated wood (cedar, redwood, or cypress recommended) – 2x6, 2x8, or 2x12 lumber, 8-12 pieces (depending on bed size, e.g., 4’x8’ requires ~12 boards)
- ● Corner brackets or screws (galvanized or stainless steel, 4-8 pieces)
- ● Hardware: 3-inch outdoor deck screws (50-100 screws, depending on frame complexity)
- ● Drill & drill bits (for pre-drilling holes)
- ○ Landscape Fabric: 1 piece (cut to fit bed dimensions; optional but recommended to block weeds)
- ● Soil & Amendments: Cardboard or newspaper (shredded, 2-3 layers for weed barrier)
- ● Compost (2-3 cubic feet per square foot of bed)
- ● Topsoil (1-2 cubic feet per square foot)
- ○ Perlite or vermiculite (1-2 bags, optional for drainage)
- ● Garden twine or zip ties – To secure landscape fabric.
- ○ Wood stain or sealant – For longevity (non-toxic, optional).
- ● Irrigation system – Drip tape or soaker hoses for easy watering.
- ● Mulch – Straw or wood chips (1-2 bags) to retain moisture.
- ● Knee pad or stool – Because gardening is way more comfortable on your knees!
Step-by-step guide to building a productive raised garden bed
Here's how I transform basic materials into a thriving, soil-rich raised bed that yields year after year.
🪴 Step 1: Choose Location and Build the Frame
Select a spot with at least 6 hours of sunlight daily—most vegetables and herbs demand full sun for peak production. I avoid low-lying areas where water pools after rain, as soggy soil invites root rot. For a 4-foot by 8-foot bed (standard size for four gardeners), use untreated cedar or redwood lumber that resists rot naturally. The 12-inch height provides ideal root depth while keeping knees dry during weeding.
Assemble the frame with 2x6 boards (cut to 4 feet and 8 feet lengths) using 3-inch deck screws at each corner joint. Pre-drill holes to prevent splitting—this is where many DIY beds fail. Level the frame carefully using a 4-foot level, adjusting the ground beneath if needed. A slight slope toward the center helps with drainage during heavy rains. Here's the thing—skipping leveling means uneven moisture distribution and stunted plant growth on the low side.
🌱 Step 2: Layer the Soil for Maximum Fertility
Start with a 4-inch base layer of coarse wood chips or straw to improve drainage and prevent compaction. This isn't just filler—it creates air pockets that roots crave. Next, add 6 inches of composted manure (chicken or cow) for nitrogen-rich organic matter. I sift it to remove any large clumps that could harbor weed seeds. The goal is loose, crumbly texture—press it lightly and it should hold its shape when squeezed but break apart easily.
Top with 8 inches of high-quality garden soil, mixed with 2 inches of perlite or vermiculite for aeration. I like to blend in a slow-release organic fertilizer (like 10-10-10) at this stage—just follow the package rate for raised beds. Avoid garden soil from your yard; it's often too dense and may contain pathogens. The layered approach mimics natural forest floor decomposition, giving plants a nutrient-rich environment from day one.
💧 Step 3: Water Deeply and Mulch for Retention
After planting, water the bed deeply until moisture reaches 6 inches down—this encourages roots to grow downward rather than staying shallow. I use a soaker hose placed along the center to distribute water evenly without disturbing soil. Wait until the top 2 inches feel dry before watering again; raised beds dry out faster than in-ground plots. Overwatering here leads to nutrient leaching and weak stems.
Spread 2-3 inches of mulch (straw or shredded leaves) over the soil surface to retain moisture and suppress weeds. Keep mulch 2 inches away from plant stems to prevent rot. The mulch layer also moderates soil temperature—critical during hot summers when roots can overheat. Check weekly for dry spots; raised beds need 30-50% more water than ground-level gardens due to their exposed sides.
✂️ Step 4: Plant and Maintain for Continuous Growth
Arrange plants with larger varieties at the back (like tomatoes or peppers) and smaller ones at the front (lettuce, herbs). I space seedlings according to their mature size—18 inches apart for bush beans, 24 inches for cabbage, and 36 inches for corn. The key is even spacing; crowded plants compete for nutrients and spread disease. Water immediately after planting to settle roots into the moist soil.
Fertilize every 4-6 weeks with compost tea or a balanced organic fertilizer. I avoid synthetic chemicals in raised beds—they can leach directly into surrounding soil. Watch for yellowing leaves (usually nitrogen deficiency) or stunted growth (phosphorus need). Here's where regular checks pay off: a quick soil test every season keeps your bed performing at its best. Rotate crops annually to prevent soil depletion and pest buildup.
🌿 Step 5: Seasonal Care for Year-Round Productivity
In spring, top-dress with 1 inch of compost and refresh mulch. This replenishes nutrients after winter's leaching. In summer, increase watering during dry spells—raised beds can dry out in as little as 2-3 days under full sun. I set a drip irrigation system on a timer for hands-off maintenance. Fall is the time to add worm castings (they improve soil structure) and plant cover crops like clover to prevent erosion and fix nitrogen.
Winterize by removing annual plants and adding a thick layer of straw mulch (6-8 inches). This insulates roots and protects against freeze-thaw cycles. I also rotate crops—never plant the same family in the same spot two years in a row. The layered soil structure you built will reward you with lighter, fluffier soil each season, making gardening effortless. Real talk: your first harvest will be the best motivation to keep improving the system.
Tips & tricks for building a productive raised garden bed
These practical insights will help you avoid common pitfalls and create an optimal growing environment for your plants.
Location and Frame Precision: When building your 4-foot by 8-foot frame, consider adding corner braces for extra stability—especially if you're in a windy area. I learned this the hard way after watching a partially assembled bed wobble during a spring storm. For the 12-inch height, use 2x6 boards vertically on the sides and 2x4 boards horizontally for the bottom frame. This creates a sturdy structure that won't warp over time. The slight slope toward the center is crucial—use a 4-foot level and adjust the ground beneath by adding or removing soil before assembling.
Soil Layering Strategy: The 4-inch base layer of coarse wood chips or straw should be slightly larger than the bed's footprint to prevent erosion during watering. For the 6 inches of composted manure, I recommend mixing equal parts chicken and cow manure to balance nitrogen levels—chicken manure is hotter but breaks down faster, while cow manure provides steady nutrients. When testing the soil's crumbly texture, press it gently between your thumb and forefinger; it should hold shape but crumble easily. This texture is what gives raised beds their superior drainage and aeration compared to ground soil.
Watering Efficiency: For the deep watering that reaches 6 inches down, I've found that a soaker hose with adjustable flow works best along the center. Place it on a 15-minute timer for initial watering, then adjust based on soil dryness. The top 2 inches dry test is more reliable than a finger-stick—press your finger into the soil; if it feels dry up to your first knuckle, it's time to water. During summer dry spells, consider adding a second soaker hose along the sides to ensure even moisture distribution throughout the bed's volume.
Seasonal Maintenance: The 6-8 inches of straw mulch for winterization creates an insulating blanket that protects roots from freeze-thaw cycles. I like to add a thin layer of bubble wrap between the mulch and soil for extra insulation in colder climates. For the 4-6 week fertilization schedule, I've found that alternating between compost tea and a balanced organic fertilizer prevents nutrient lockout. The key is consistency—skipping fertilizations leads to nutrient deficiencies that show up as yellowing leaves or stunted growth, which are harder to correct later.
Pro Tips for Discover The Steps To Successfully Do Raised Bed Gardening
- These practical insights will help you avoid common pitfalls and create an optimal growing environment for your plants.
- Location and Frame Precision: When building your 4-foot by 8-foot frame, consider adding corner braces for extra stab...
- Soil Layering Strategy: The 4-inch base layer of coarse wood chips or straw should be slightly larger than the bed's ...
Frequently asked questions
Got questions about raised bed gardening?
You’re not alone! Here are answers to some of the most common concerns to help you grow with confidence.
What’s the best time of year to start a raised bed garden?
Spring (after the last frost) is ideal for planting, but you can prep your bed in early spring or even late fall for a head start. If you’re in a warm climate, fall or winter planting works too! Just ensure soil temps are right for your crops—most veggies thrive in 60–75°F soil.
Are raised beds more expensive than in-ground gardening?
Upfront costs can be higher (materials like lumber or cedar blocks add up), but they pay off long-term. Raised beds reduce weeding, improve soil quality, and extend growing seasons—saving you time and money on fertilizers or replacements. Start small (like a 4’x8’ bed) to test the investment!
How do I keep pests out of my raised bed garden?
Prevention is key! Use physical barriers like row covers or mesh for insects, and companion planting (e.g., marigolds with tomatoes). Healthy soil with diverse microbes deters pests naturally. For slugs/snails, add copper tape or diatomaceous earth. Rotate crops yearly to break pest cycles.
Do raised beds dry out faster than in-ground gardens?
Yes—they can! To retain moisture, mulch heavily (straw or wood chips work well) and water deeply 2–3 times weekly (adjust for climate). Use drip irrigation for efficiency, and avoid overwatering (raised beds drain quickly). Amend soil with compost to improve water retention.
Can I reuse the same raised bed materials for years?
Most materials (like cedar or redwood) last 7–10 years if untreated, while pressure-treated wood may leach chemicals—opt for ACQ-treated lumber if using it. Plastic or composite beds are low-maintenance but may degrade faster. Inspect for rot or splinters annually, and replace damaged sections promptly.
Wrapping up and next steps
Raised bed gardening isn’t just about growing plants—it’s about transforming your space into a thriving, low-maintenance oasis. By following these layered loam secrets, you’ll create rich soil, boost plant health, and enjoy a bountiful harvest with less effort.
Whether you're a beginner or a seasoned gardener, the key is patience, preparation, and passion—your green thumb will thank you!
Ready to dive in? Start small with one bed, experiment with your layers, and watch your garden flourish. Next up: Grab your tools, sketch your design, and let the planting begin! 🌱✨